Thursday, August 8, 2013

DIY Light Table


During the school year, I brought the boys to a playgroup at one of the local grammar schools and there was a light table with some fun magnetic shapes and translucent legos.  The thing was so neat!  Since then, I've seen some creative and frugal ways to make your own light table (the word table being used loosely) on Pinterest.  
After seeing THIS POST on dollar store finds for light tables, I was inspired to make one and go finish off the gift card to the Dollar Tree that my mom gave me for my birthday...ummm best gift ever? yeah I think so!
Three easy steps to make a light table:
1. Get a storage container with a clear lid.  I used an under the bed type container.  I've seen pins using taller ones, and even ones with a white lid (in this case they attached lights to the inside of the lid and used the box upside down).
2. Tape white tissue paper to the inside of the lid to diffuse the light.  I guess this is optional, I've seen posts that skip this step, and I've seen posts that go all out and use spray paint to frost the lid.
3. Add lights to the bottom.  I used white Christmas lights and taped them to the bottom of the container.  
Voila! Best part is.... I already had all of these things! Didn't spend a dime!
My Dollar Tree Treasures
I couldn't find everything listed in the post that inspired this shopping trip, plus I dragged my sister along with me and so doing 15 laps through the store was out of the question... a solo trip is much needed (and while you may think a dollar store intervention is much needed, I assure you... I don't have a problem, I can stop at any time).


  • Decorative glass stones in different sizes (I liked the assorted color bags)
  • Linking jewelry shapes
  • Brightly colored storage boxes
  • Glow in the dark ceiling shapes
  • Translucent rulers
  • Plastic shot glasses
  • Multi-colored stacking pill case
  • Subject dividers (for binders...to cut into shapes)
  • Hair gel (to put into ziplock baggies and add color or glitter for sensory play)
  • Shaving cream (another sensory play idea from my sister)
Not from the Dollar Tree, but worth mentioning: I ordered tangrams and orbeez off ebay and I can't wait for them to get here!

Introducing the Light Table

Once breakfast was said and done, I told the boys I had a surprise for them.  They got excited as I closed the curtains and got the room dark and ready.  To introduce the idea of light play to the boys, and to see how well my purchases worked out, we spent a little bit of time with everything instead of focusing on one thing.  In the future I hope to have more structured play as well as free play... but today we just worked our way through all the different "toys." 


 We used the plastic shot glasses to create a pattern.  Blue, green, blue green.  It was very serious work.


 The boys stacked and unstacked the little cups over and over and over and over....

... I introduced a new way to stack the cups which was very well received by Oliver.


Owen had a grand ol' time counting things. 


They both liked filling and pouring the little cups.


We used the storage containers to experiment with color mixing.  Red and blue made a good purple, and the blue and yellow did a good job demonstrating green, but the red and yellow did not make a distinct enough orange.  Oliver then had fun seeing what happened to the colors when stacking 3 or even all 4 of them.


These were also fun to fill with other things.
We made a dinosaur scene featuring a T-Rex standing in front of a volcano, an Elasmosaurus swimming in water, and a Stegosaurus and Triceratops chowing down on some green plants. 


And here is Brachiosaurus eating leaves from the top of a tree.


 Oliver then had a terrific idea to create museum cases to put the dinosaurs in for everyone to see.


We used a ruler to measure and compare the dinosaurs, and later some zoo animals.

I just love this light table... it was so easy and so fun!  I'm trying to think of a cheap and easy way to build an actual TABLE for us, maybe put some pallets to use?  I mean you can make just about anything out of pallets, right!?  But this is certainly good enough, and it doesn't take up too much space.  Fits right under the bed!
Top Mommy Blogs - Mom Blog Directory

Saturday, August 3, 2013

Let fun happen... learning will follow


Sometimes, one thing leads to another, leads to another, leads to a disaster of a mess in the kitchen.

We started by making our own bubble solution.
Some water, dish soap, and corn syrup.  I forget exactly what proportions I used...in fact, I think I just looked up some bubble recipes on pinterest and did something from memory that lands somewhere in the middle of all the ones I found.  A cup of water, a quarter cup of soap, and a tablespoon of syrup...maybe? 

This was the science portion of the day.  We talked about bubbles coming from the soap, adding water so we can blow them because the soap alone is too heavy, and corn syrup to make the bubbles stronger so they don't pop right away.  Is this the true chemistry behind bubble solution? I don't know... but it seemed right enough and understandable for a preschooler.

We used a water bottle with the bottom cut out, a block from our shape sorter, and several different kinds of bubble wands/blowers to test out our bubble soap.


After blowing some bubbles I remembered the cool bubble art I'd seen on pinterest.  I added some tempera paint just like the pinner said to.  Garbage.  Maybe I didn't mix it well enough.  I was hoping to drop in different colors and see them swirl together as the bubbles were blown.  Didn't happen.

Food coloring saves the day.  Using a straw to blow bubbles into a dish of soap was really entertaining... I even had my own fun when I'm-too-cool-for-this 3 year old gave up (1.5 year old had a blast).  We then gently laid paper on top of the bubbles in the dish and gave a few light taps on top to make a bubble print.


Since we still had some uncolored bubble soap in a bowl, I grabbed the Thomas and Friends bath toys we have (that haven't actually seen a bath because they are too much fun to incorporate into other activities), some scrubby brushes, and washcloths to make an engine wash.  At this point 3 year old re-joined us.

Once the engines were all clean he wanted to make them dirty again.  I asked his preferred method to dirty engines and he shouted, "MUD!"

Not just any mud, rainbow mud.  A few squirts of paint on a long sheet of paper... and I now have some beautiful art waiting to find a frame.  It came out great!


And then of course we had to re-wash our "Really Useful Engines."


Sometimes one thing leads to another and before you know it, you've passed the morning without the TV or iPad, and you're even proud of the mess in the kitchen.

Top Mommy Blogs - Mom Blog Directory

Friday, July 26, 2013

Alphabet Match Game


My super smart kid has done really well learning to identify capital letters.  He knows just about all of them...when he wants to (there are days he just can't focus or be interested in actually looking at the letters in order to tell you which one it is.  On these days he prefers the "shout a random letter and hope it's right" approach).

I chose to introduce only capitals for the sake of simplicity, and in my opinion he is ready to start matching them up to their lowercase counterparts.  I have been intending to make an alphabet match game for him in order to accomplish this, but I currently am printer-less so it hasn't been done.

We have a set of alphabet flash cards already, but they don't work for what I have in mind because the upper and lowercase sets have different pictures for each letter.

I just happened to find myself in the value aisle in Target (crazy how that keeps happening)and found this set of flashcards which was just what I needed!


What I liked about these cards is that each card has the uppercase letter above the lowercase letter on one side, and a picture on the opposite card.


To make the match game I cut each card in half vertically isolating the capital and lowercase letters, and creating a puzzle-type game of the image side.  


I shuffled the cards and laid them out on the table with the letter sides up.  The goal of the game was to match the letters and check by flipping them over to see if the pictures lined up. So fun! He did great!


Top Mommy Blogs - Mom Blog Directory

Tuesday, July 23, 2013

Top Mommy Blogs

I've just been approved on Top Mommy Blogs to be added to their Homeschool Moms category.

YIPPEE!

Please click the button on the right sidebar (or below) to vote for my blog should you feel so inclined.  My goal is to expand my readership and followers.  I always visit and nearly always follow blogs back, and this is an excellent way to connect with and bounce ideas off each other.  I just love the support you can get from other blog moms.  It can feel so great when you spend most of your time with kids and adult interactions can sometimes be few and far between!

Top Mommy Blogs - Mom Blog Directory

Also, I've decided to give Bloglovin a try.  Follow on there too!


Follow on Bloglovin

Sunday, July 21, 2013

You Can Do It!


I'm totally a step-back and let them figure it out kind of mom.  Does that make me lazy? maybe.  But I defend my parenting style by choosing to believe I am nurturing independence, confidence and problem solving.

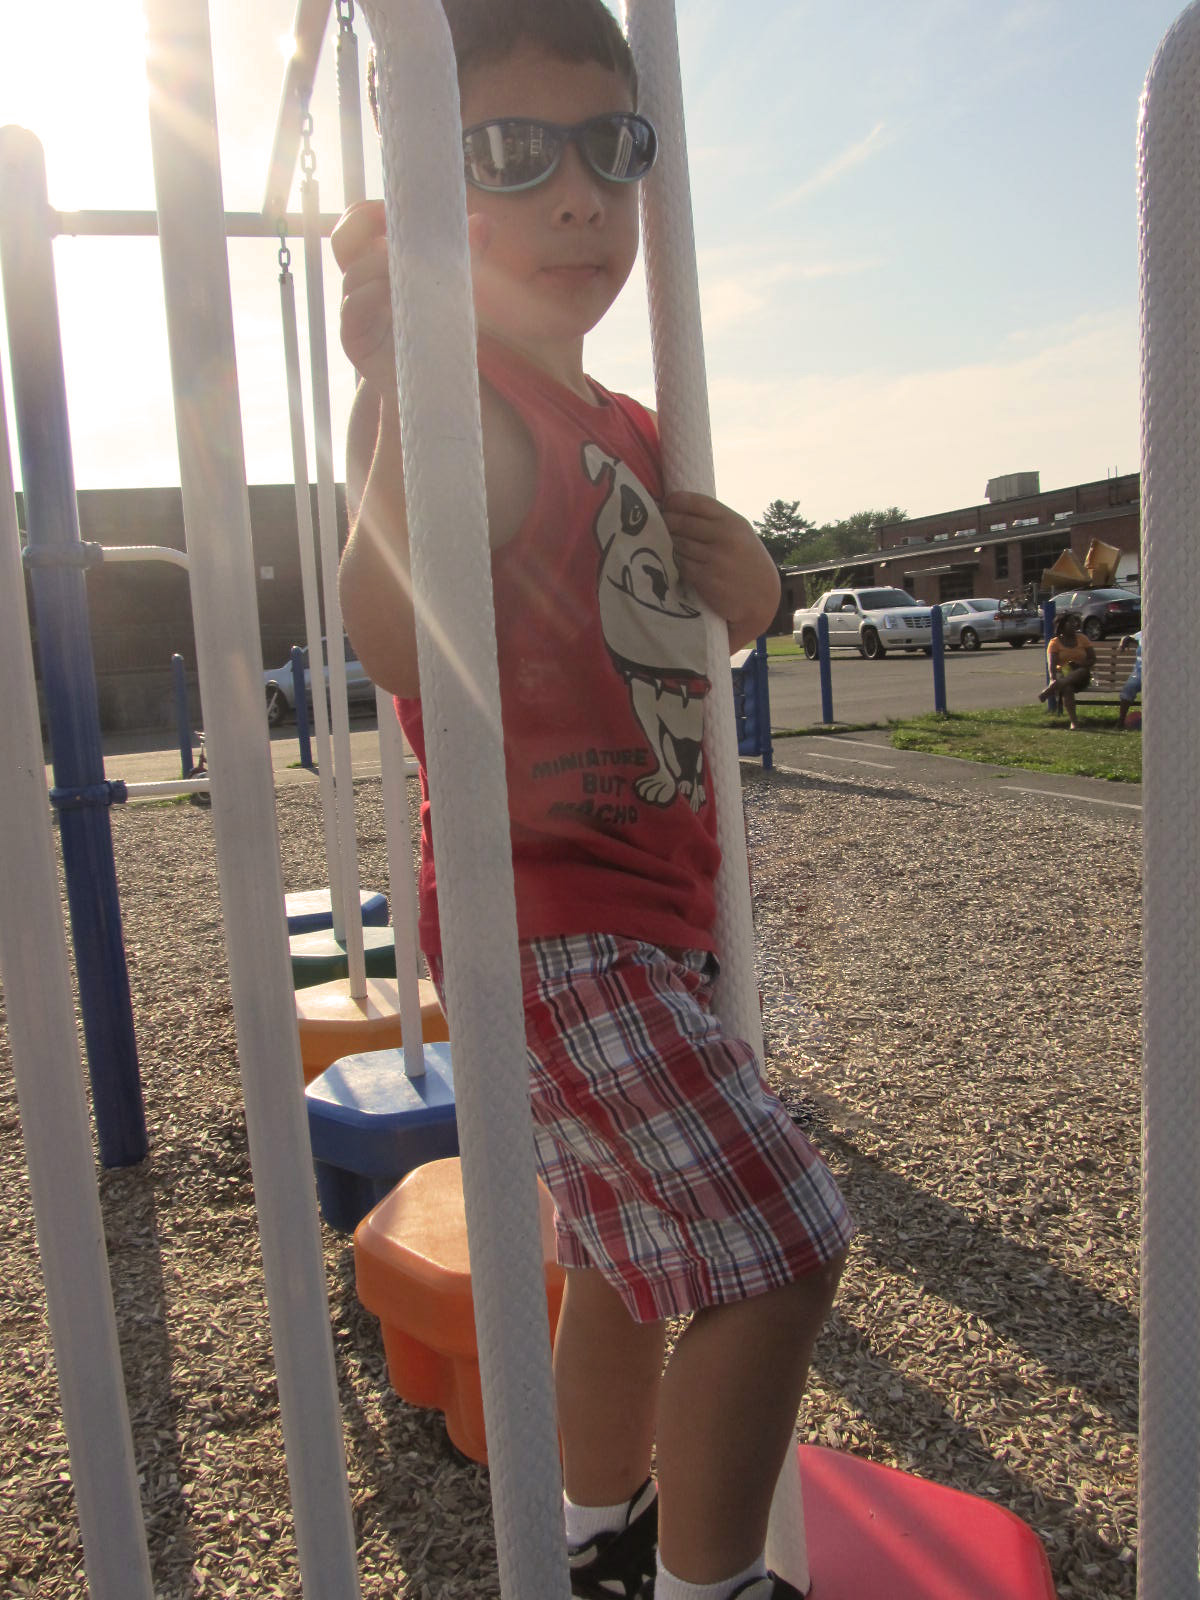
We brought the boys to the playground today and they were climbing, sliding, running and jumping to their hearts' content.


While I was watching the big one climb and slide, and my husband was pushing the little one around on his trike, a family showed up to... well I guess to play, but i hesitate to call it that... and it took all the self control I had not to shout "You're doing it wrong! Move, let me show you how to be the perfect parent!"

The first thing the little girl tried to do was climb up a chain rung thingy to get to the top of the play scape.  A fairly easy task for her age, she had to be 3 or 4, and this was no Everest.  Before she had one finger on the rung her father says "She can't do that.  Don't let her do that.  That's not for her." He saw some stairs for her to use instead and insisted she use those, the whole time calling for her to be careful and go slow.  She didnt quite lift her foot high enough and bumped a toe on the next step, and while it didn't bother her at all, dear ol' dad was quick to shout "don't run, take it easy"... a sentiment he repeated over and over during this most restricted playground trip.

Everywhere the girl turned she was followed by her father's instructions to mom: "don't let her do that, she can't, its too big, that's not for her, no more over there, she can't, she can't, she can't..."

NO KIDDING SHE CAN'T! YOU DON'T GIVE HER THE CHANCE!

Even my one year old was climbing up these things.  And I know in his head he was thinking that it was only because my kids are boys was I so at ease...or maybe he thought I was being neglectful, who knows.... But in my head I was thinking about how much damage he is doing by setting nothing but limits and declaring nothing at all positive in regard to his daughter's abilities.


I am my kids' biggest cheerleader.  I encourage them constantly.  Do they whine, yeah of course.  Do they get angry when they have trouble doing something.....oh yeah they do (and it drives me crazy)! But I do my best to offer instruction so they can figure it out, or model for them so they can have their own success later.

Yeah, sure, I sometimes sound like a crazy person "woohoo"-ing and "oh yeah!!!"-ing and doing victory dances with the kids.  But when they shout down "I do by myself, mommy! My strong have big muscles for climbin'! Don't need help, me big boy!"...well...how do you not?


Thursday, July 18, 2013

Make Your Own Preschool Morning Board

I had this light bulb moment... maybe I can get the kids into a "school mode" if I engage them with something like this pocket chart to start the day.  Most classrooms start with a circle time and something similar right?  So let's give it a try.  

HOLD THE PHONE!!!  I don't have the money to drop on one of those fancy pantsy pocket charts! $50 for a good one.... $70 for an awesome one.  No way.  I am much too frugal.

So I made my own, (didn't see that coming did ya?  oh, you did?  yeah I figured).


I got a piece of foam poster board and calendar pieces from the Dollar Tree, bulletin board trim for $1 at Target, and a weather wheel for about $.60 on clearance in Walmart (but that is easily DIY too).  

The most expensive part of this was buying velcro for all the calendar pieces.

I covered the board with leftover pieces of felt, piecing together different colors to represent different circle time topics.  

Dark blue on top is all about the day.

Light blue is sight words for the week.  This is an experiment.  Not sure if he is ready for this at 3 1/2, but he's bright, so we'll see how it goes.

Green is for the letter and number of the week.  We will use worksheets from various activity books that correspond to these after we finish with our morning board gathering.

I got sick of cutting velcro squares for every piece, plus the word cards are double sided, so I opted to use clothes pins here...as if you couldn't tell.


The whether wheel is self explanatory.  It's actually my kid's favorite part.  He loves looking out the window and moving the arrow.  I did have to add velcro pieces to the arrow and each "slice" so that gravity would stop declaring every day "snowy".... we've got a heat warning going on here for Pete's sake! 


I used a hot glue gun around the edges of felt, now that it's all said and done I might have used something like Hi-Tack all purpose glue to adhere the entire piece of felt so it doesn't pull away from the board as you remove the velcro pieces from it.

The only thing left to do is decided whether I am going to mount it onto some wall space (shout out to command strips...holla!!!) or attach some ribbon to the top so I can move it around and hang it on door knobs or nails or whatever is nearby in whatever room we find ourselves in.

Now I just hope we use it!

Tuesday, July 16, 2013

Finding our Homeschool Groove: PART 1- The Home


My husband is too sweet and patient to complain... but I'm pretty sure this is what he's thinking:


Once the weather was nice I decided to makeover the basement playroom so there would be a distinct "classroom" area.  But I never got it totally organized so the kids took it back over as a play area.  In fact, it has become the "construction site"and if I attempt to re-home the blocks and miscellaneous work trucks that have landed in the middle of my classroom, I am thoroughly reprimanded.  Also, the kids are distracted by the play side of the room.  

The living room was toy free for only the briefest of periods.  I had visions a REAL living room... you know- one that looks like adults live there and we're not running some Lord of the Flies type establishment.  (Full disclosure: I have started that book so many times and just can't read it).

Lately though, I've come to the realization is that homeschooling is a lifestyle and our home is inevitably going to reflect that.  While the kids are young and homeschooling is new to us, convenience is going to be the main in factor in deciding the WHERE and HOW of it all.  It happens to be more convenient to transition right from breakfast to an activity with a quick swipe of the dishes in the sink.  It's more convenient to keep tossing toys into the messy playroom and set up lessons and more directed play in the living room.  A morning circle board and the kids art will fill our walls instead of one of those gorgeous Pinterest DIY portrait galleries.


Do I wish we had a room that was solely the school room?  Heck ya I do!  But right now our priorities are to live within the means that will keep me home with the kids so I can learn them good... and that means making the most of our small house; which, in turn, means that any and all available space shall be put to use!

I definitely need to figure out how to best stay organized, and to do that I need to nail down my homeschool style, which I haven't quite done yet.  We have good days, we have bad days.  I am becoming more accepting of the very good possibility that we are un-schoolers,  finding educational opportunities and teaching moments when and wherever they present themselves... yet I find plans and timetables so appealing that I haven't totally given up on trying to find a system that works for us.

Until I have all that figured out (if ever!) I will be constantly moving furniture and supplies from here to there in an attempt to create the best possible (and most fun) learning environment.  In the meantime, I have a couple of great, smart, happy kids... I must be doing something right.